
By Sarah Watkins-Kenney, QAR Lab Director/Chief Conservator
This piece introduces the Queen Anne's Revenge 12-Step conservation program, by briefly describing processes undertaken in each step of an object’s treatment. Future blog posts reporting on the progress of different artifacts will identify which step or stage that piece has reached at that time. In this way you can follow artifacts in their journey from ocean floor to museum door.
 Step 1: Recovery
All artifacts recovered from the Queen Anne’s Revenge (wreck 31CR314) go through a 12 Step Program in their journey from ocean floor to museum door. The amount of time, type and scope of actual treatment in each step depends on the nature of the object – including its material, size, condition and the type of artifact. At any one time staff at the QAR Lab may be working with several different artifacts, all at different stages in their particular conservation program. Over the coming weeks and months, we will report on conservation progress of different types of artifacts as they are treated, recorded and researched at the QAR Lab in Greenville.
Step 1: Recovery = planning, preparation and on-site conservation work which includes: assignment of QAR artifact identification numbers; recovery from seabed; documentation including as recovered photography; wet storage at the dockside and then transfer wet to QAR Lab.
Step 2: Post-Recovery Processing – Analysis I = documentation and cataloguing, measurement, counts, ,basic identification of materials, sorting & preparation for wet storage, creation of lab records, and inventory.
Step 3: Wet Storage = transfer to wet stable storage in solutions appropriate to the type of material. Monitoring solution levels and changing out solutions as needed.
 Step 7: Cleaning II
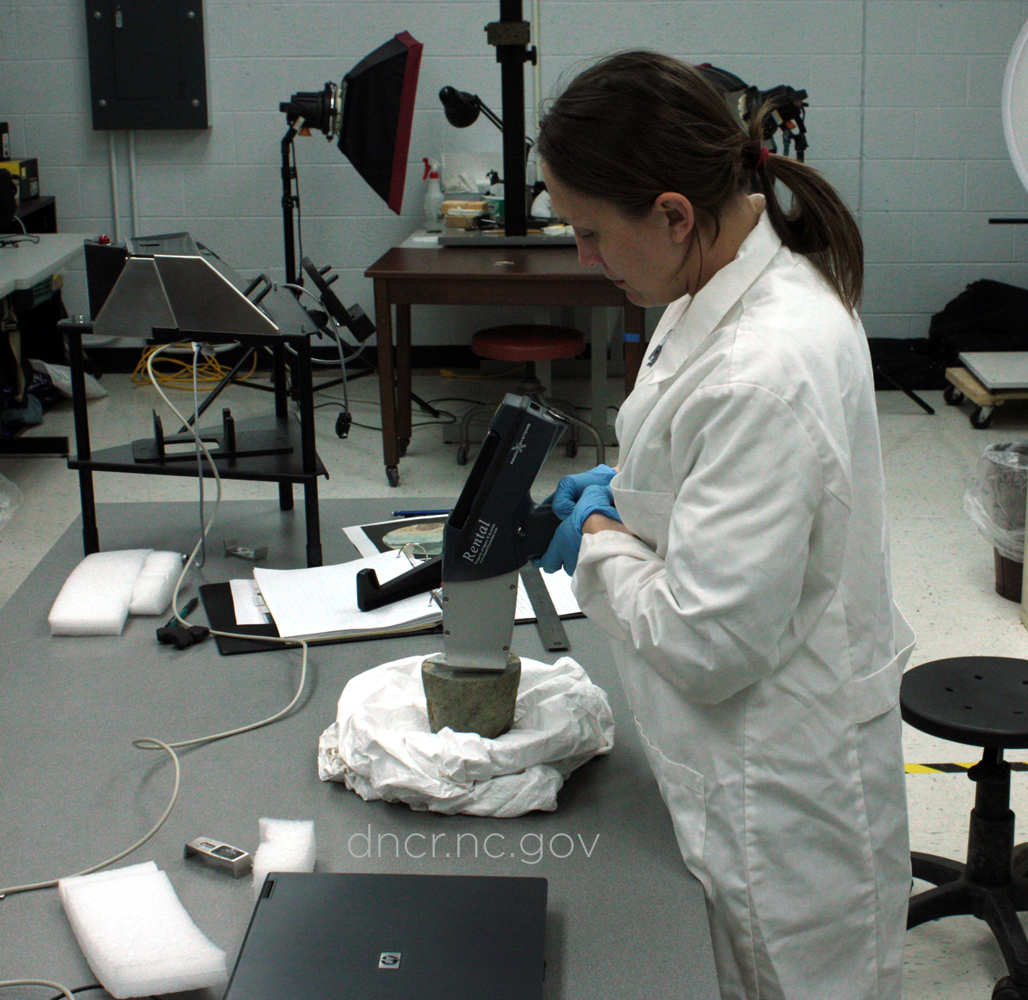
Step 4: Analysis II = assessment & identification of materials, condition, and artifact type. This step includes X-radiography of concretions to “see what is inside” and identification of materials such as wood species.
Step 5: Cleaning I = pre-cleaning documentation including photography to record condition before treatment. Removal of concretions as needed.
Step 6: Desalination = removal of soluble salts from all objects. For metals by electrolytic reduction (ER); for non-metals by soaking in water; measuring soluble salt levels in changes of solution monitors their extraction from objects.
Step 7: Cleaning II = removal of stains, fine concretion and desalination solution residues from object surfaces.
Step 8: Bulking, Consolidation, Drying = for example replacing water in wood with Polyethylene Glycol Wax (PEG) followed by controlled air drying or freeze-drying ; and consolidation of glass prior to controlled drying.
 Step 10: Analysis and Identification
Step 9: Protective coatings = for example, application of protective coatings (lacquers or waxes) to metal artifacts.
Step 10: Analysis III = final Examination & analysis to confirm identification of artifacts and materials made of.
Step 11: Repair/Reconstruction = for example, reconstruction of ceramic vessels, or construction of support mounts to ensure safe handling, and study.
Step 12: Final Documentation = Illustration, final photography, completion of records and documentation including recommendations for storage and display conditions, packing for transfer to the museum.